

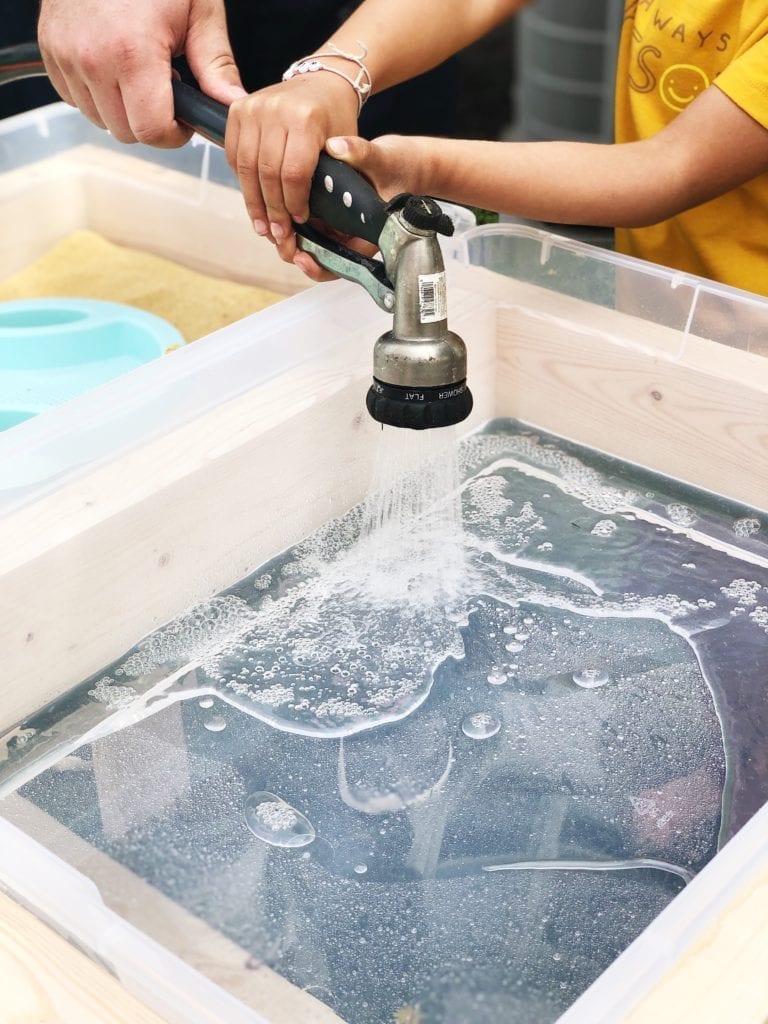
If you saw my Instagram stories today, we decided to build a sand/water sensory table for the boys! With all of this extra time outside lately, we figured this would be a great activity for them! The wood models typically range from $200-$600 and as much as I love my children…that just wasn’t in the cards LOL.
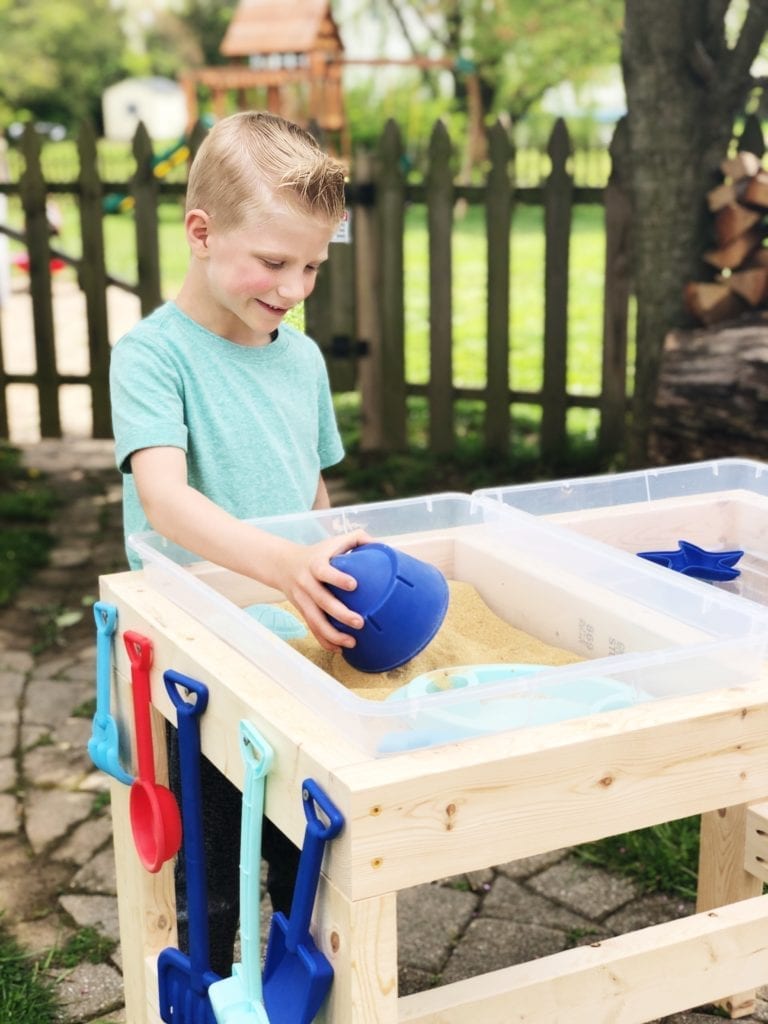
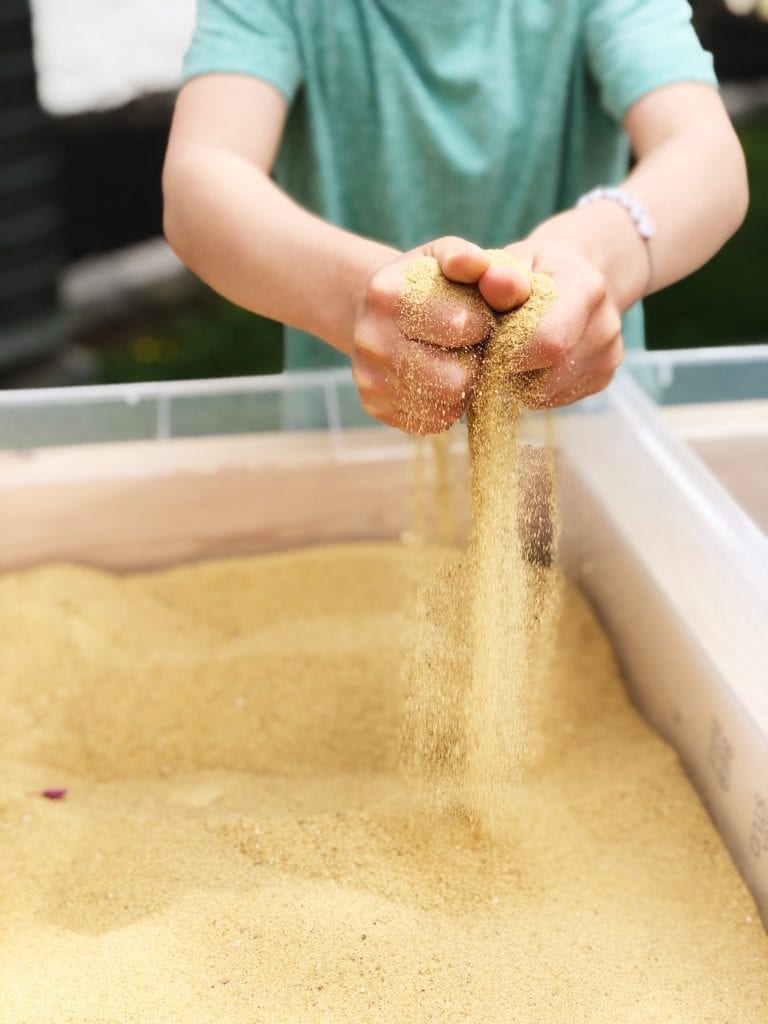
I was scrolling Pinterest earlier this week and I saw a DIY sensory table that stopped me in my tracks. My first thought was to look up the cost until I realized we could build this for pretty cheap! This project took a total of 3 hours from start to finish and the boys are loving it already!
Here is what you’ll need:
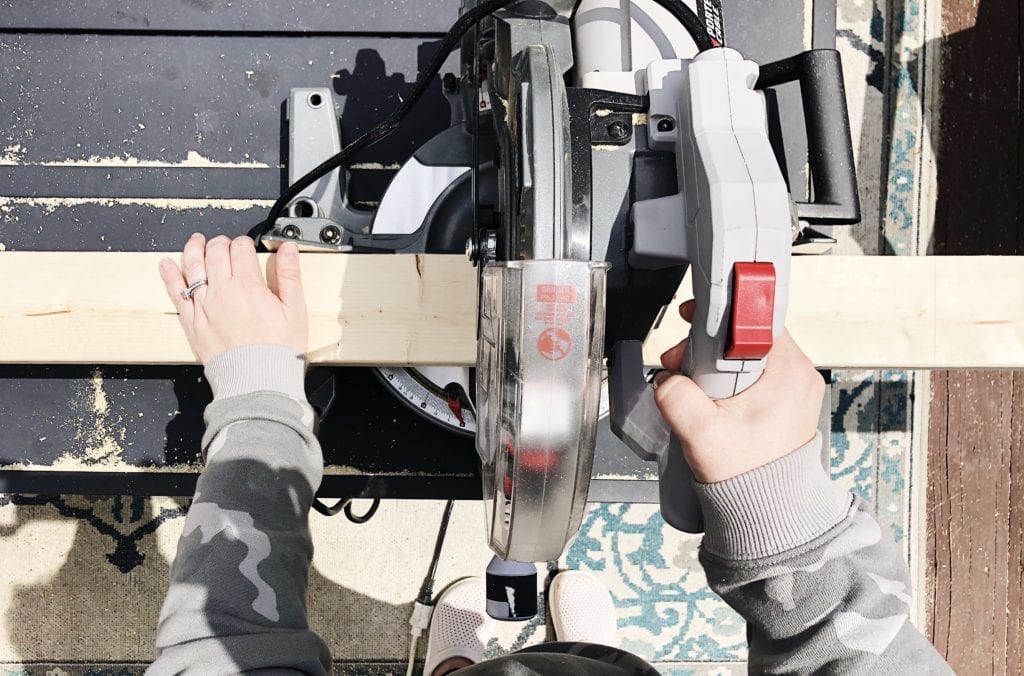
Miter Saw
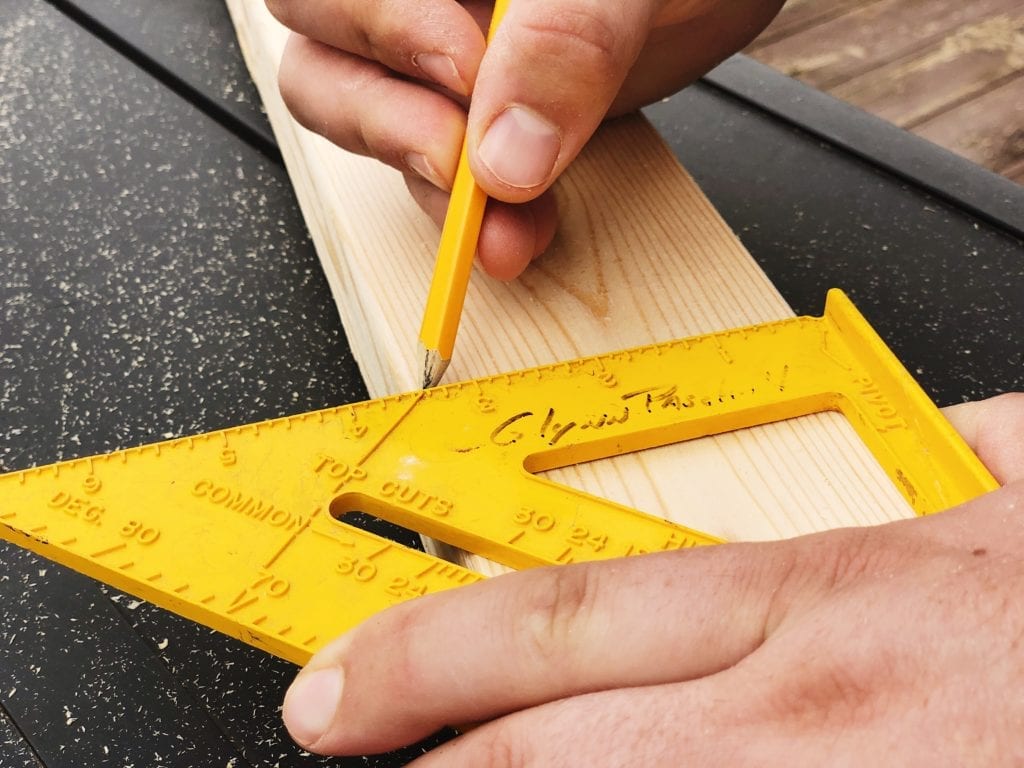
Speed Square
Tape Measure
(6) 2x4x8′ boards
Impact driver or drill
3″ screws (we used exterior wood screws)
Kreg Jig and coordinating 1.25″ pocket hole screws
Wood Sealer (for outdoor use)
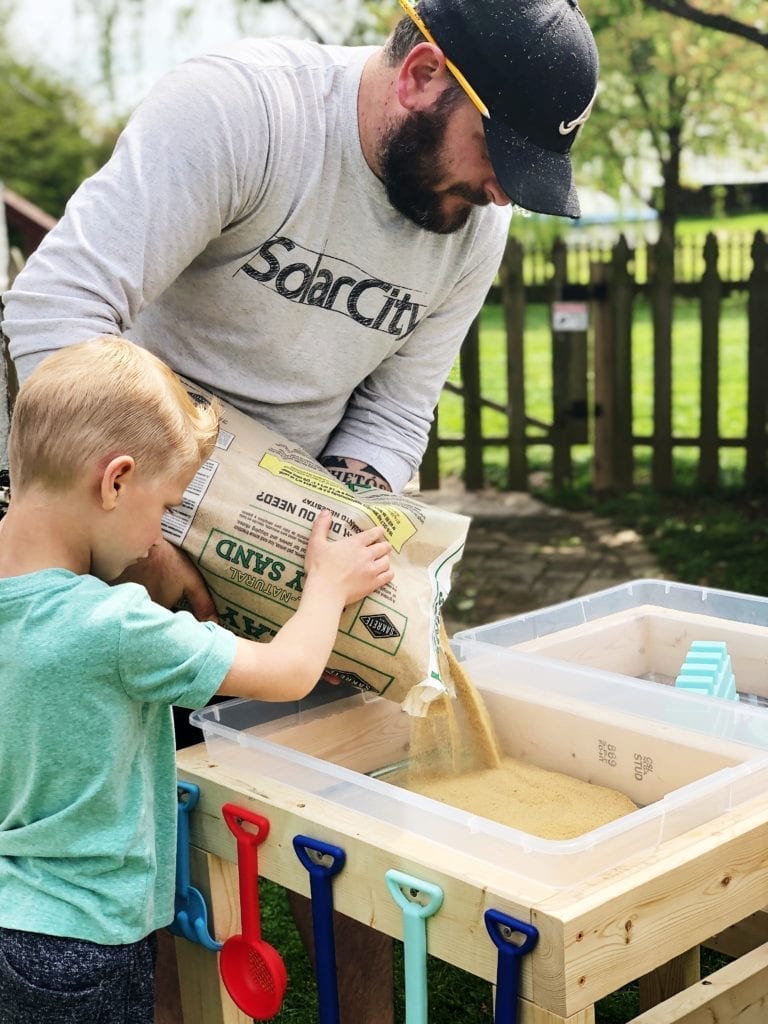
(2) 28 quart tubs with lids
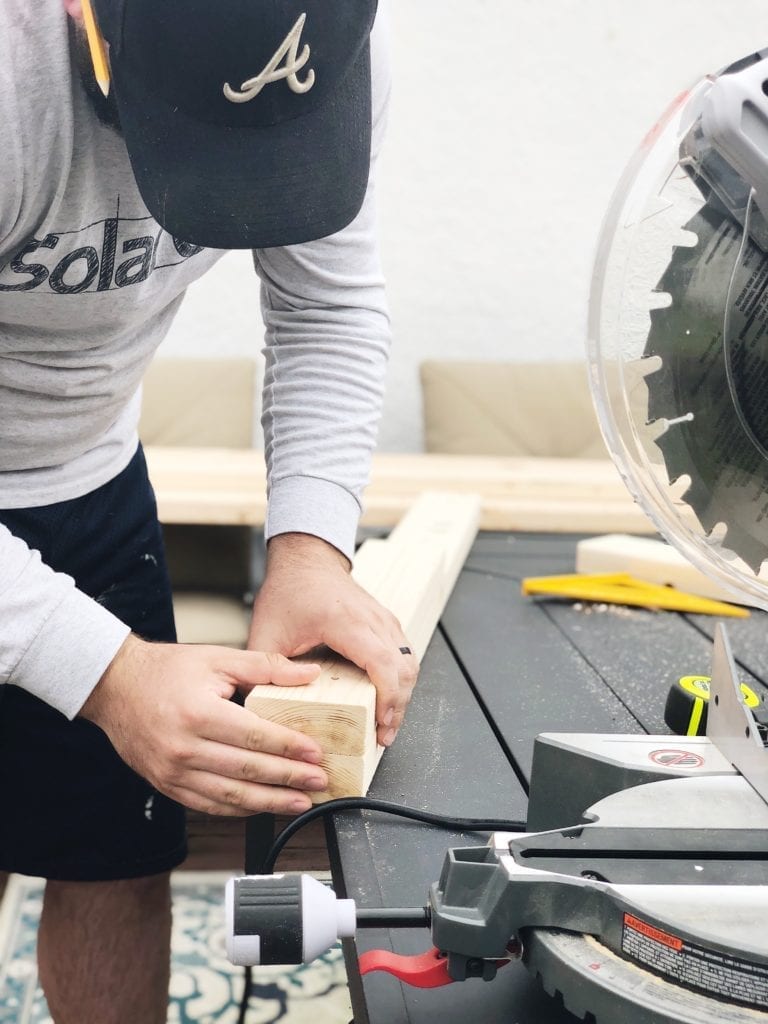
First, start by cutting the legs, ours were 2 feet tall. Next we built the frame by cutting (3) 20 3/4″ boards and framed them out by placing the buckets where they would go to double check the size. To finish the top of the frame we used (2) 33 1/2″ boards for the front and back of the table.
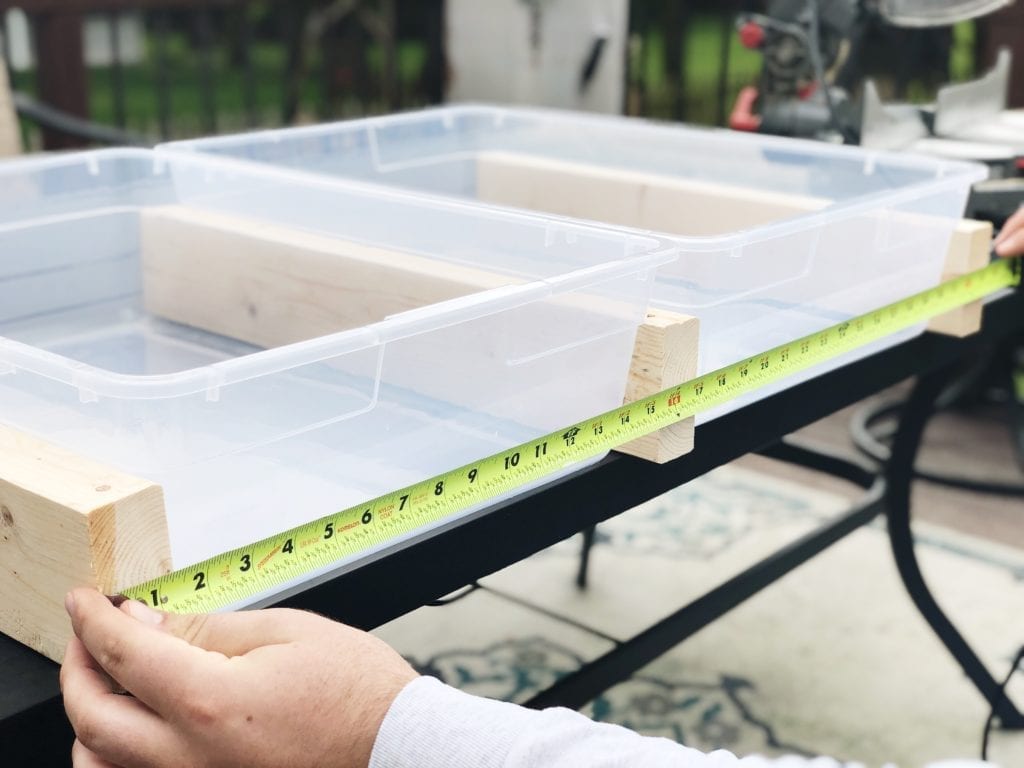
We layed all 5 boards out with the tubs and then were ready to put it all together. Curt predrilled the holes and worked his way around frame to make a rectangle. We then put in the middle piece, along with the tubs (to make sure the fit was perfect) and screwed in the middle board.

Once the top is done, all that’s left is the legs and support beams. If you saw my stories, we were contemplating to go the easy route and just attach the the legs on the side of the table. Most DIY models had the legs screwed into the sides of the table top but Curt and I are both perfectionists and even though it would have functioned the same, we knew it could look even better.
From here, Curt used a Kreg Jig to create pocket holes so the table would be “seamless”. This was only our second time using a Kreg Jig but this time, he was really sold on this method and will be using it in the future for sure. To start attaching legs, turn the frame upside down and screw in all 4 legs using the Kreg Jig pocket hole screws. From here, you could technically be done with the project but we have 3 busy boys who can be rough on their toys and we knew it would be best to add support beams to make this table stronger.
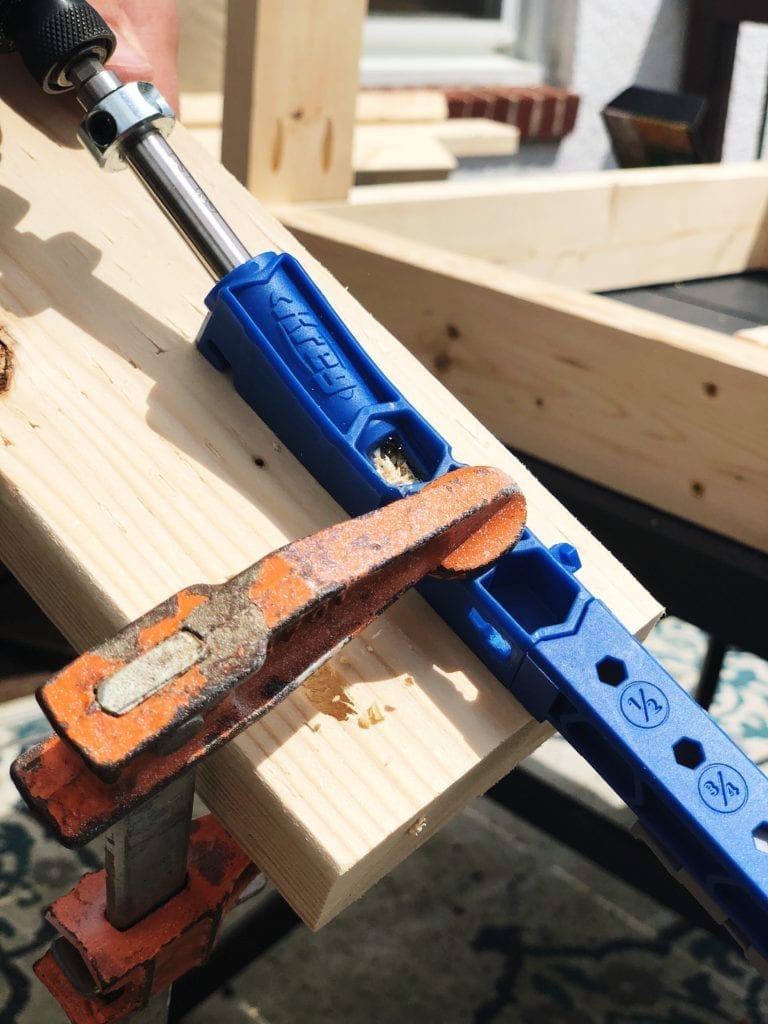
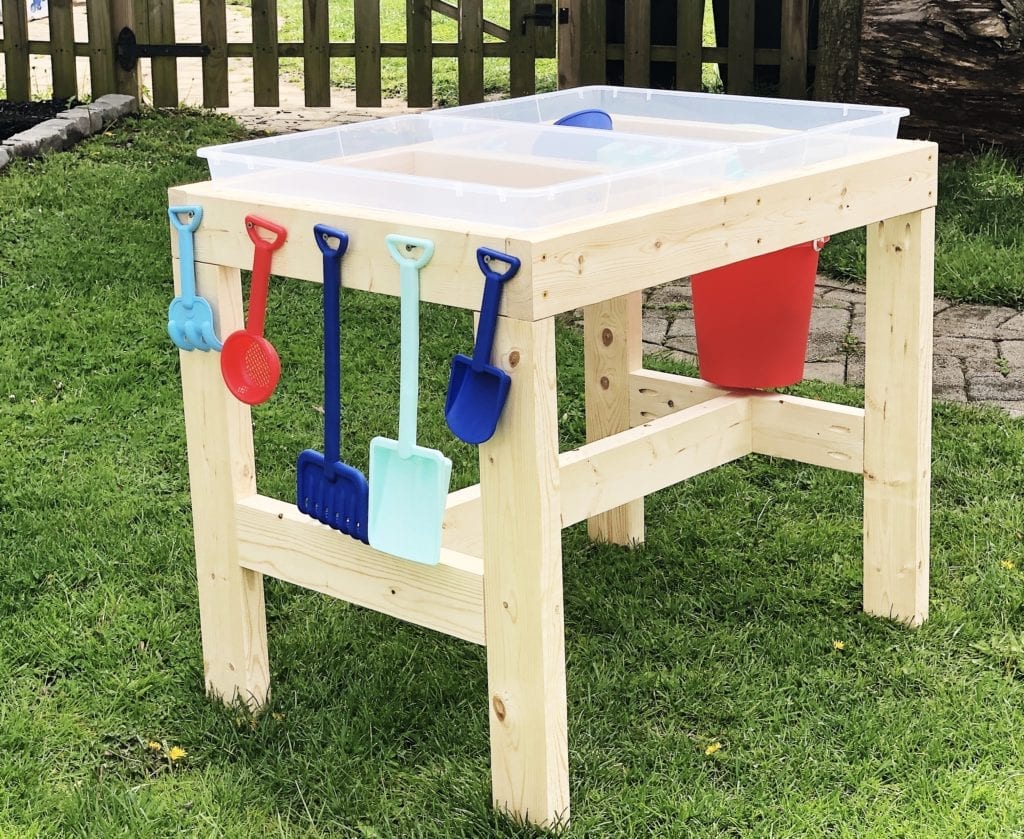
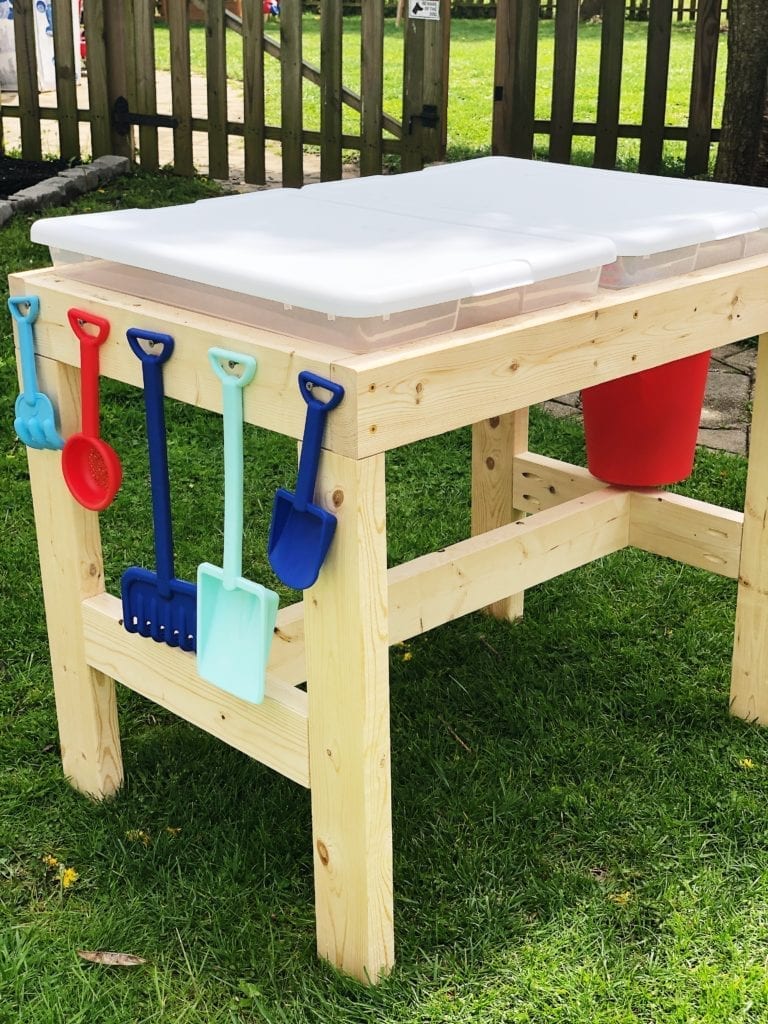
Using the pocket holes again, we added a 16 5/8” board on both sides of the table and connected down the middle with a 30 1/2″ board. We also added a 33 1/2″ support beam under the bins. This is also optional, but no we don’t have to worry about the sand or water being too heavy for the plastic hanging bins. As you can see below, this not only made the entire table stronger, it looks professionally built as well.
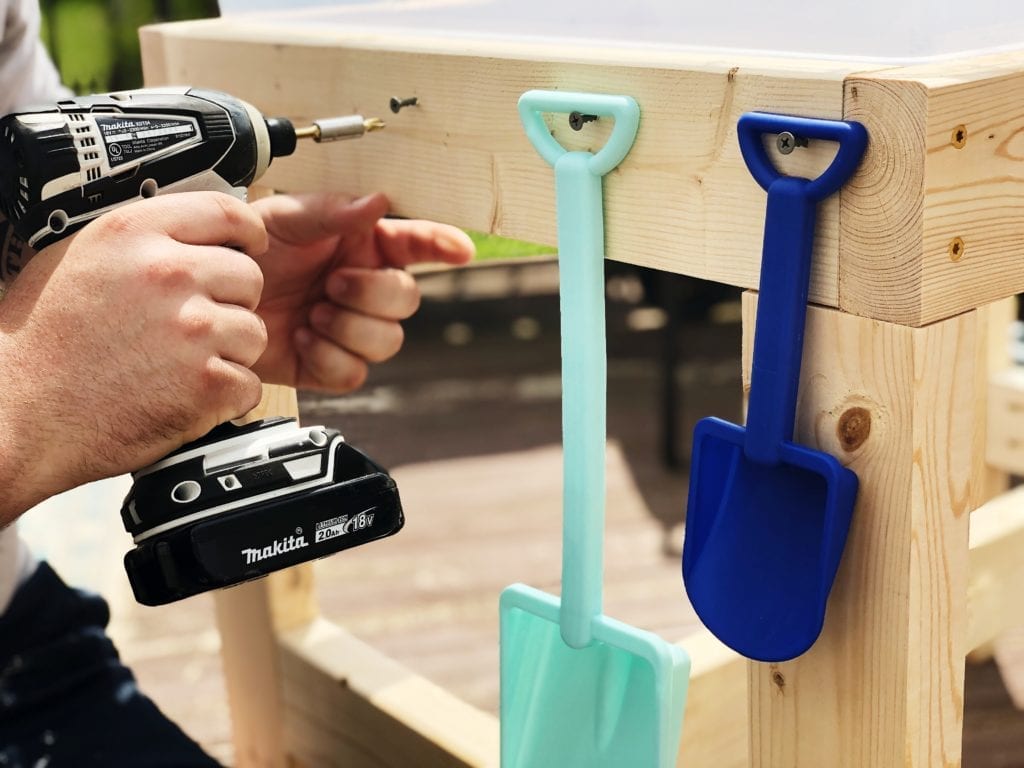
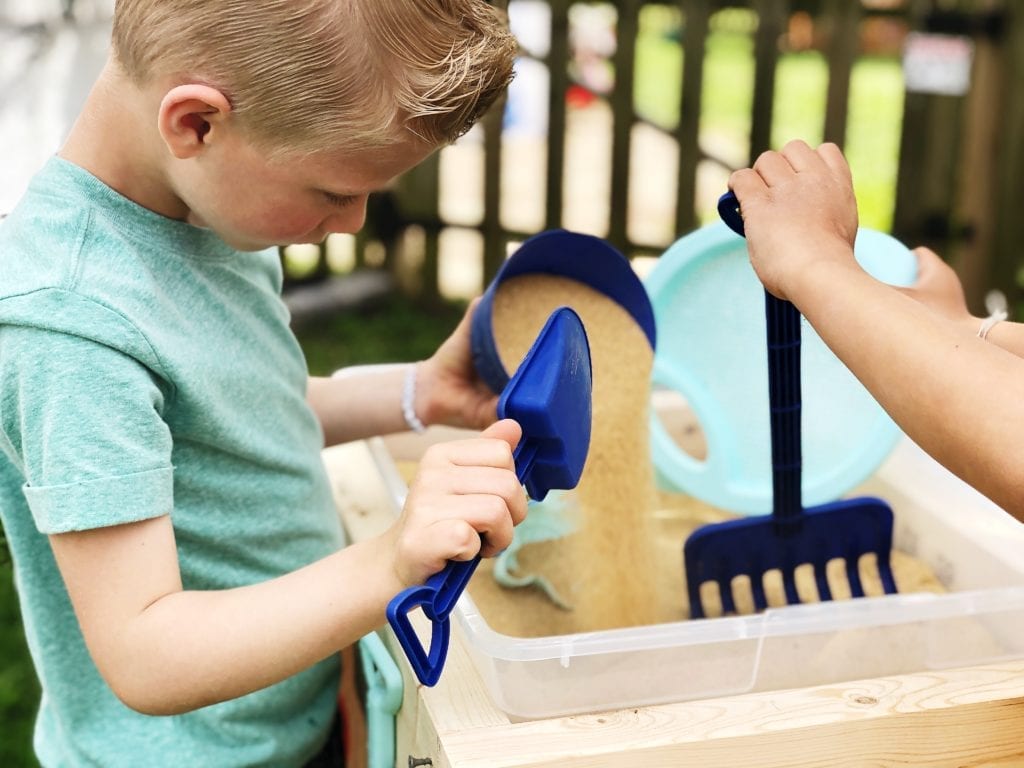
Lastly, we added a few screws for hanging shovels and a sand bucket as well as a sealant to protect it from the weather. I orginally was going to stain the table but I ended up loving the light colored pine with the bright blues and reds of the sand toys so I left it being natural.
I love how the table turned out and it was so fun being the assistant to the regional manager for this project – Curt even let me cut all the boards on the miter saw 😉 If you are interested in making the project, you can find a video tutorial in my highlights under “sensory tbl”. When we will not be using the sensory table, the lids will go on and it will be stored in a place that doesn’t get a lot of moisture.

Thanks for visiting the blog! See you next time!
Curt and Amy


What a great idea for the kids. They are going to have so much fun playing outside😊
This is beautiful you did a great job. I would love to make this for my autistic daughter but I am having trouble finding the video tutorial. Can you please email me the information or send me the link? Sikandkatrina@yahoo.com
Thank you in advance!!
this looks amazing to do! may I ask about how heavy did the final product weigh? is it easy to drag from one side of the yard to the other for mowing lol.
This looks awesome!
Please email me the youtube link – thank you!
caitlingodfrey618@gmail.com
do you have the dimensions of the boards needed after they are cute? I don’t have a big saw, but would love to buy the wood and have it cut at Home depot
I love this. Would love the directions and video so I can give to my husband to build for our grandkids.