

Our living room wall has been the absolute trickiest spot in our home to decorate which is why in 2 1/2 years it has only changed 3 times. First it started with our ginormous American flag because something had to hang there and that’s all I had that would work. Then I found two gorgeous mirrors from Kirklands and until this week, those have been up there. My struggle has always been filling such a large space without making it too cluttered. Last week it just hit me like a ton of bricks…board and batten! It would give that wall some character and I could choose more minimal decor.

I immediately looked it up on Pinterest to see just how easy it would be. Within a few minutes, I was sold on the idea that this project would by easy peasy and it would have a big impact on a small budget. Curt agreed it should be a pretty simple project and since we had the evening free, why not go for it?
Our total budget for this project was: $100 and we came in slightly under budget, closer to $80.
(We had a lot, if not most of these items already so our cost might be lower than yours.)
Here is what you need:
1 x 4 pine boards for top run (length is determined by width of the wall) *Ours was 14 feet long
1 x 3 pine boards for vertical boards for all other boards
Drill (Drill bits and phillips bit)
2 levels – Larger one for top run and small level for smaller sections
Caulk gun
Liquid nails
Tape measure
2 inch drywall screws
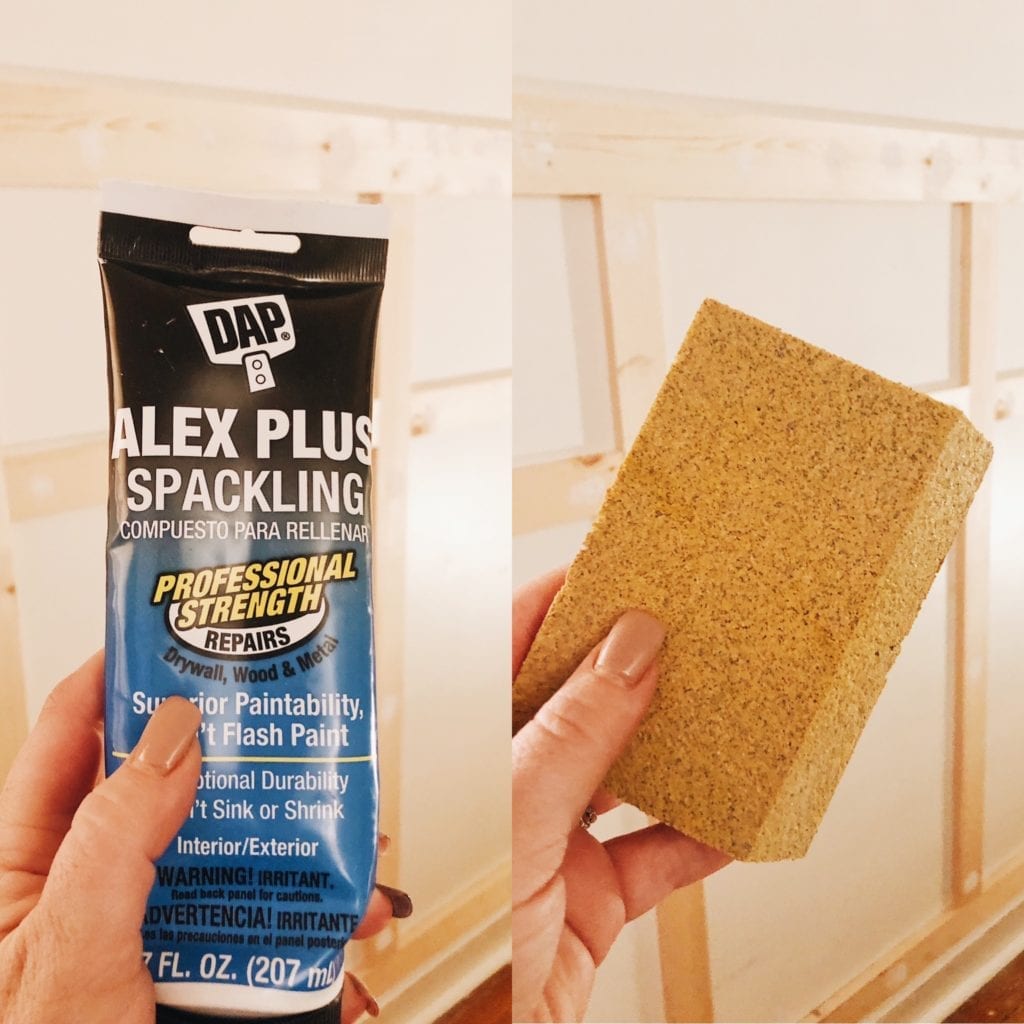
Dap drywall repair kit (to fill in screw holes)
Sandpaper
Miter saw (this is necessary to keep cuts perfectly square)
White Paint and brush
Painter’s tape
Now I’m going to hand this blog post over to Curt since he constructed this project and knows the ins and outs much better than I do! Take it away, sweetie! 🙂
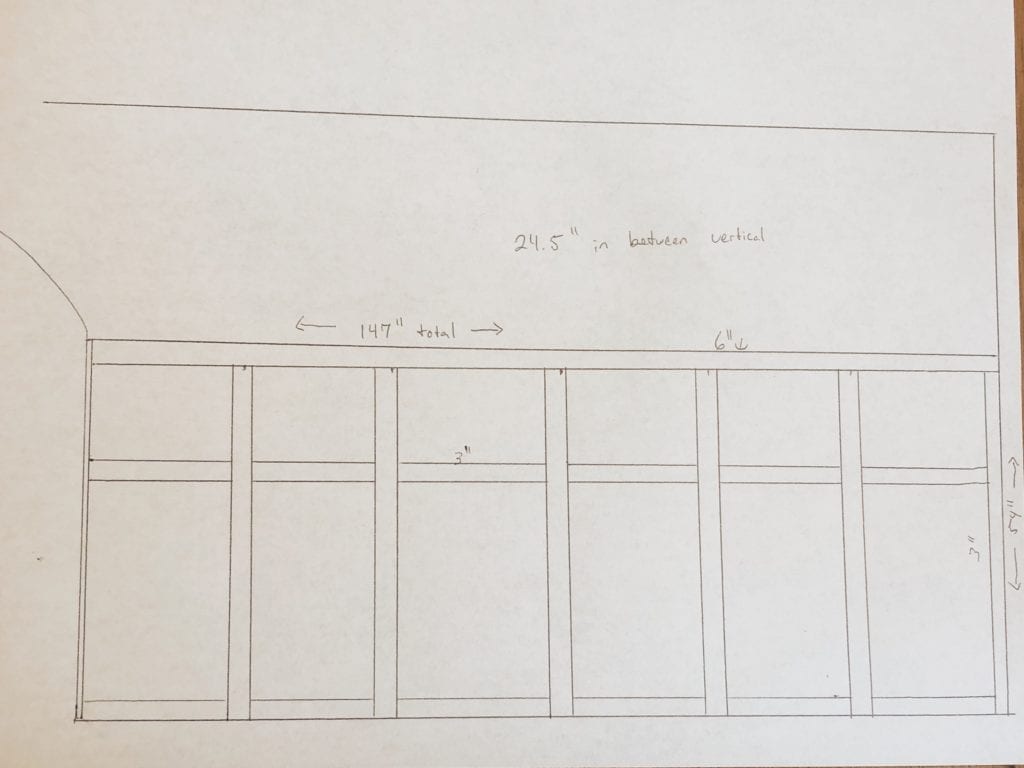
The first step in any project is the planning phase. I hate drawing, sketching, or anything that resembles art, but the sketch had to be done for this in order for me to know how much wood to buy. I’ve attached my sketch below.
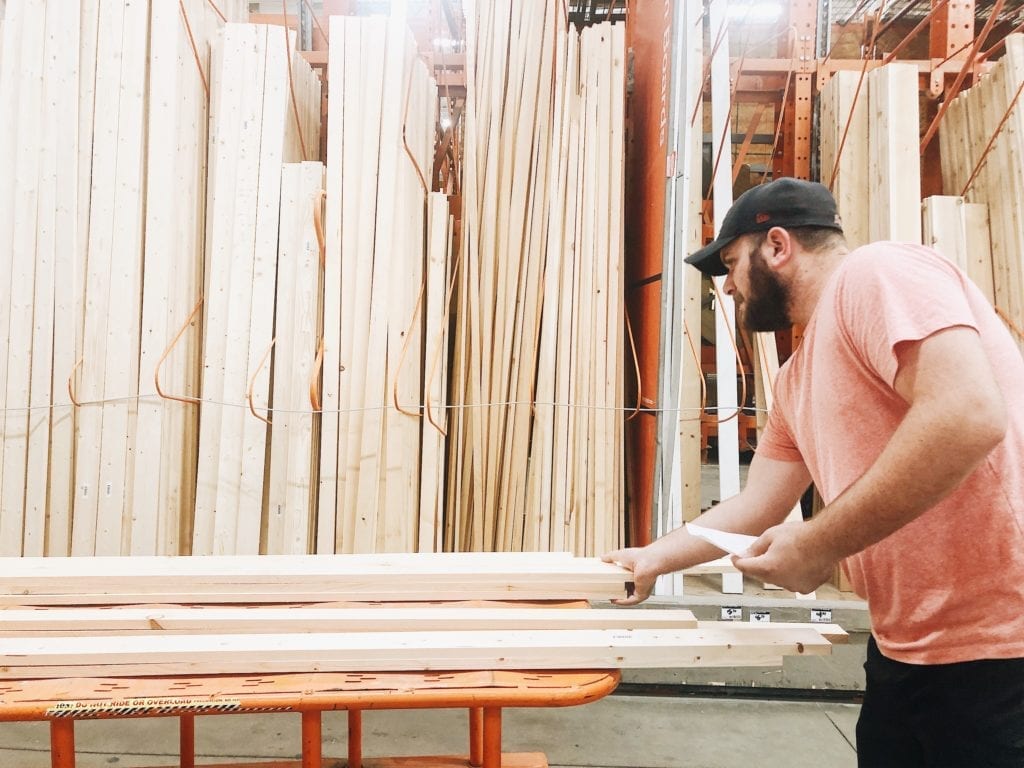
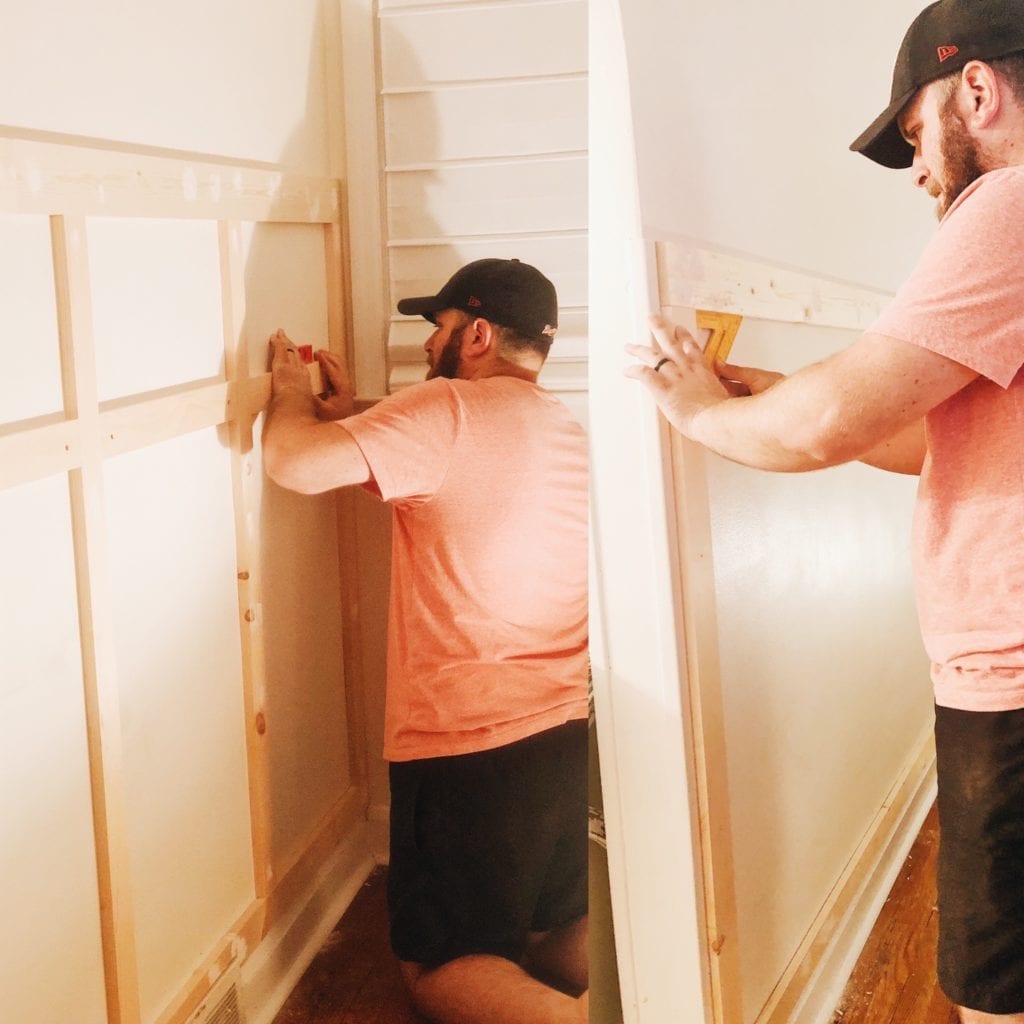
After getting the list of materials complete and making the infamous Depot run, we got to work. I tell Amy this on every project as she eagerly pushes me along…slow down and measure, measure, measure! On any project that involves cutting wood and keeping a perfect square, you want to make sure to measure more times than you think you need to or else you’ll get halfway done and look back to see crooked lines.
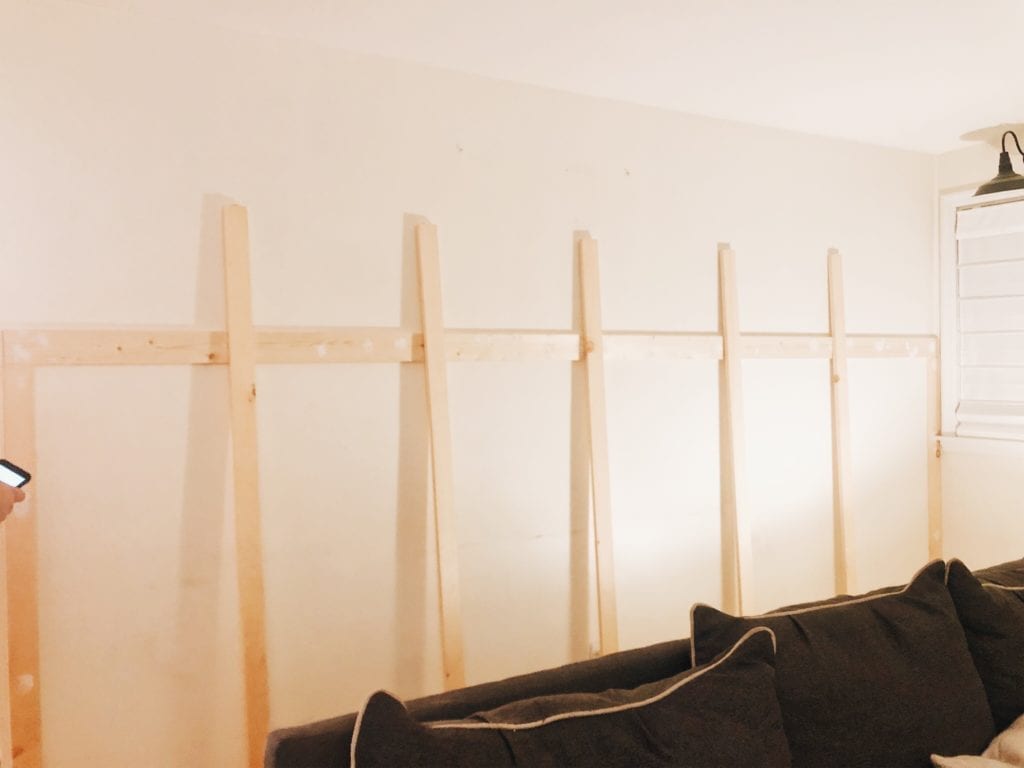
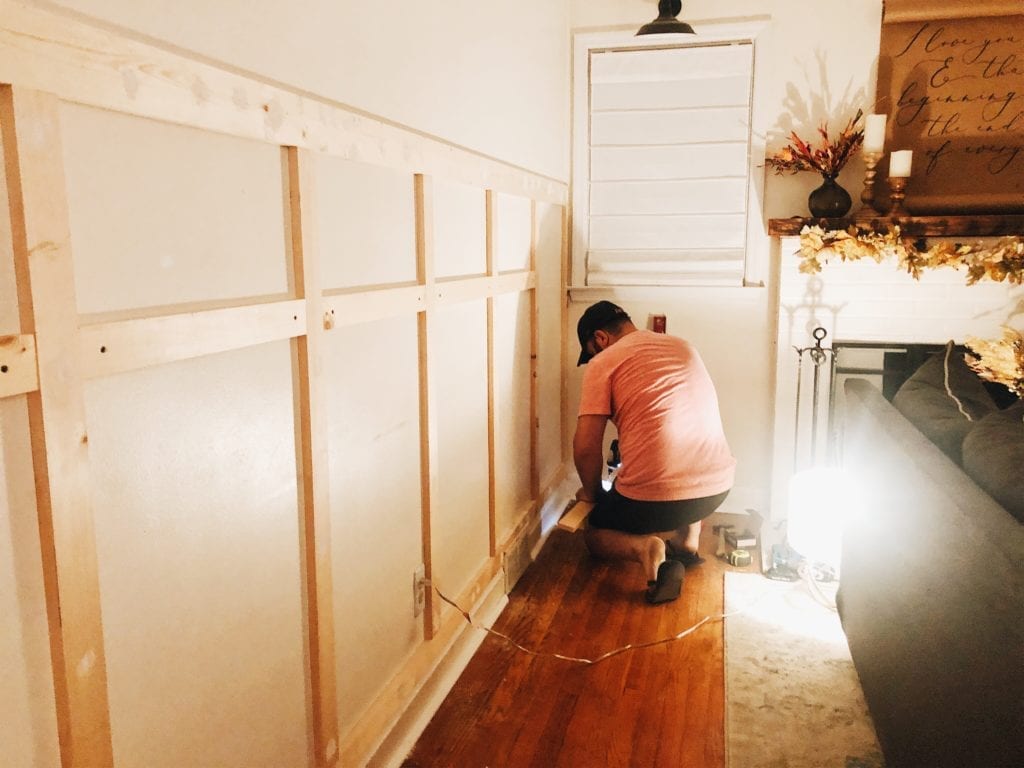
Once you’re sure the cuts of wood are square and to the right dimensions, start applying the strips with a coat of liquid nails and screws. Use the level to keep the boards straight. As you can see below, we tested the vertical boards out first to make sure how many we wanted before we began. This also helped us get a better idea of how far apart the boards should be.
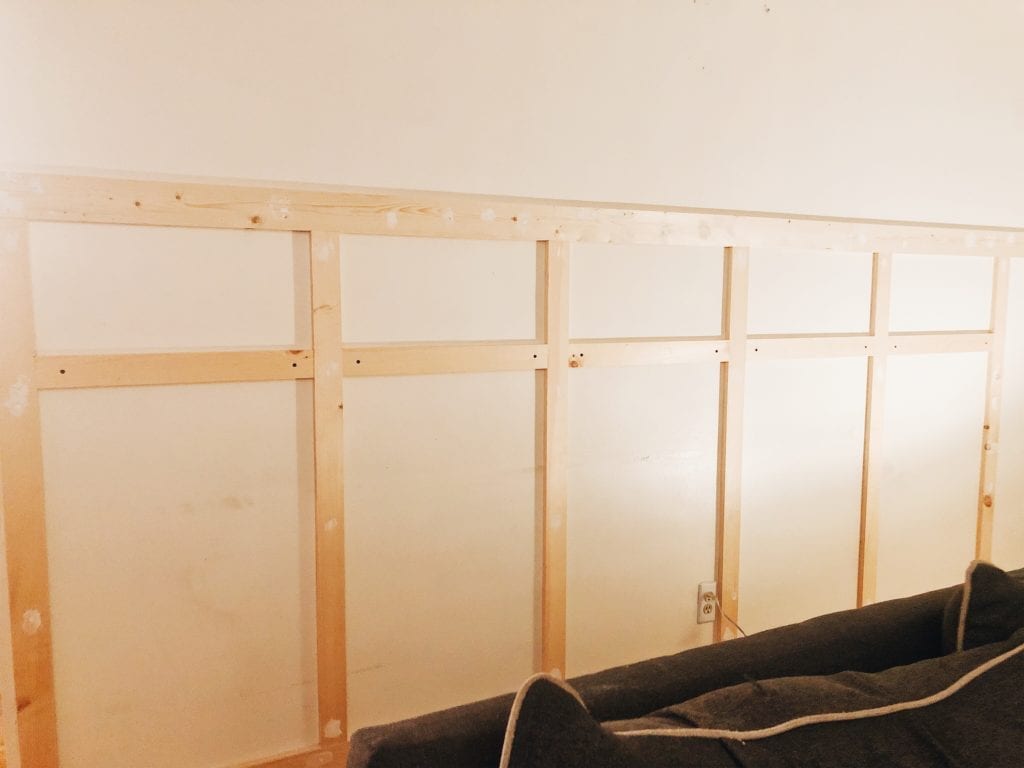
A pro tip from someone who has learned by mistake, pre-drill your screw holes with a smaller diameter drill bit so your screws go in effortlessly. As you apply more strips, you’ll be able to tell if your measuring payed off. Once all the boards are up, fill in all the holes created by the screws with DAP drywall repair putty. Let the product dry for an hour and run sandpaper over it to create a smooth surface for painting.
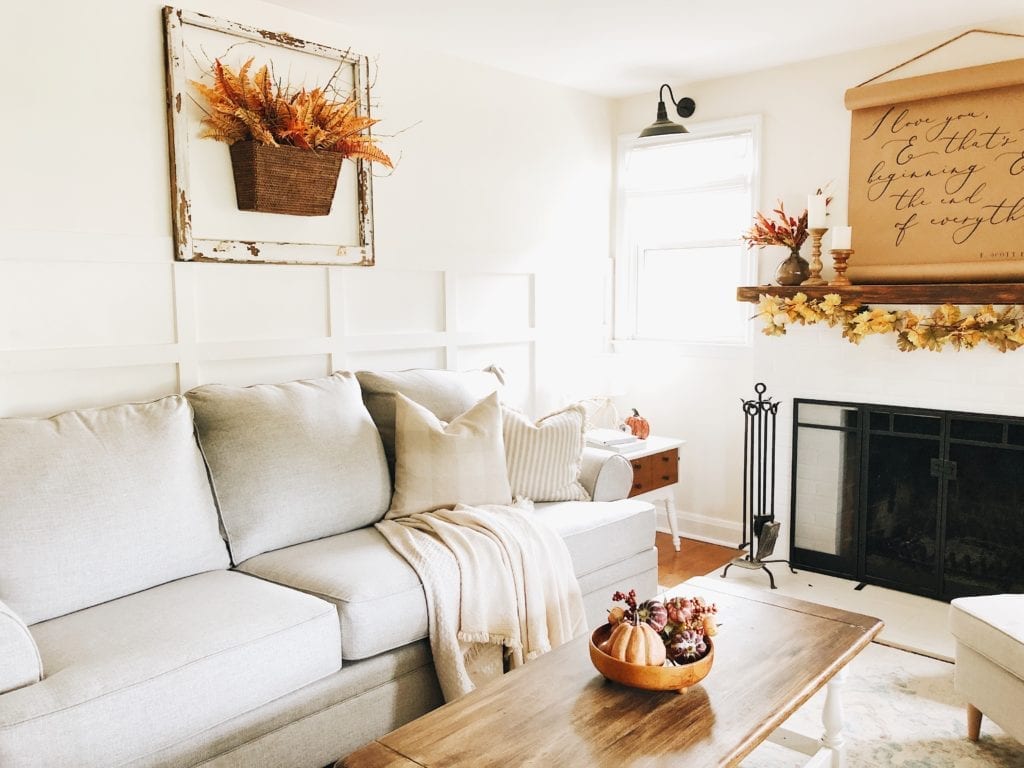
Put on your favorite tunes and start what is my least favorite part of the project – painting. Lucky for me, Amy volunteered to do the first coat. This project came to life, from idea to finish in less than 6 hours (and that’s with 3 children running around, a depot run, and stopping to eat dinner).
My advice would be to not let it overwhelm you. This can be a pretty simple project if you have the right tools and board and batten can make a really big statement for a really low cost. Amy and I were really pleased how this project turned out. Amy recorded the step by step tutorial and saved in in her highlights here if you need additional help.
Until next time, Curt


leave a comment